ラズパイ キーボード・マウス共有
キーボード・マウスをwindowsと共有して操作する。
 ぴぽこ
ぴぽこキーボード・マウス共有は実際のケーブルでつなぐ製品があるよね。
 ねこっぴ
ねこっぴ番長が買ったもの貼り付けました。エレコムのはマウスとキーボードの切替で使用。IppinkanっていうのはHDMIまで切替ができます。Ippinkanのほうが切替がすごく速い。でも、切替はもう断然 ネットワークでマウスとキーボードの共有ができるBarrierというソフトのほうが速くて便利でスマート。ハードの方はゆっくりの切替でいいときだけ使うって感じになっちゃってます。
ぴぽこそんなちがうんだ
ねこっぴもちろんネットワーク接続だと不安定なときもあるんだけど、調子がいいとwindowsとラズパイとのコピペもしっかりできるしホントべんり。個々のマシンをしっかり使う場合はハードの方。X68000ZとWindows(遠隔VNCラズパイ)の切替にはハードの切替を使ってて、両方のマシンを頻繁に行き来する場合は Barrierかにゃー。
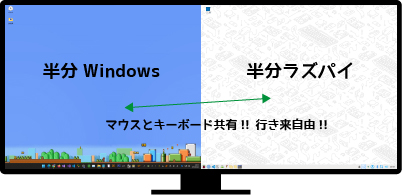
番長んちは最近ハヤリのスーパーワイドモニターを使っています。DELLのやつ。画面をPBPという機能で2分割にでき超快適! ネットワークで画面映さない分VNCよりレスポンスが良いです!!
Barrierをラズパイにインストールする
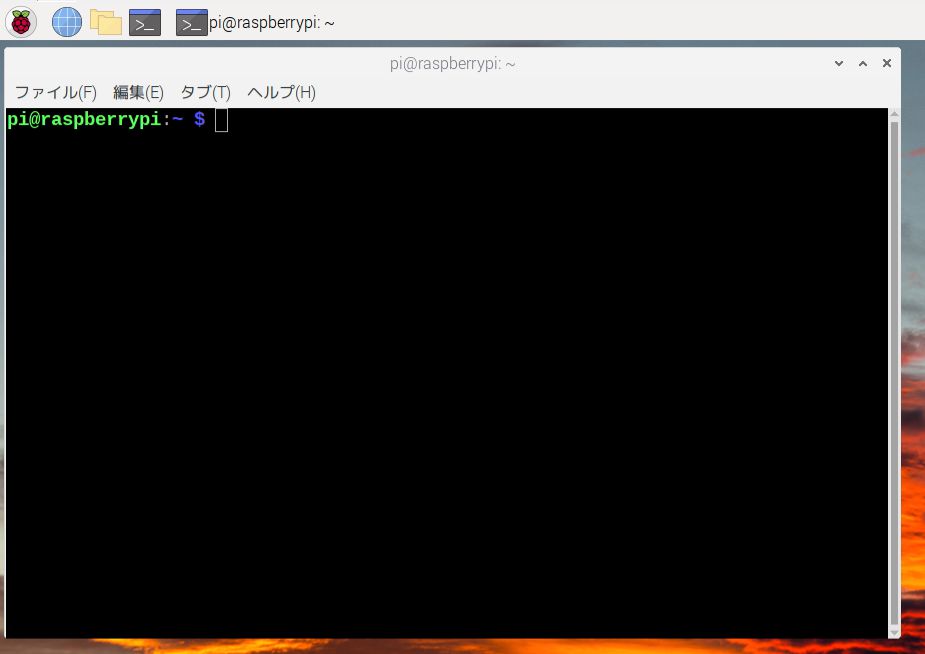
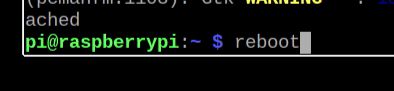
ねこっぴタスクバーからターミナル起動にゃ。
 ぴぽこ
ぴぽこコマンドについてwebを見てると よくコマンドに -y がついているのを見かけます。ちょっと調べてみました。コマンド実行時に 「はい/いいえ」の選択があった場合、全部「はい」で進めるオプションとのこと。
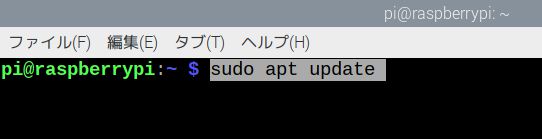
ねこっぴ採用にゃ! 以下のコマンドをコピペで1つづつ入力するにゃ。
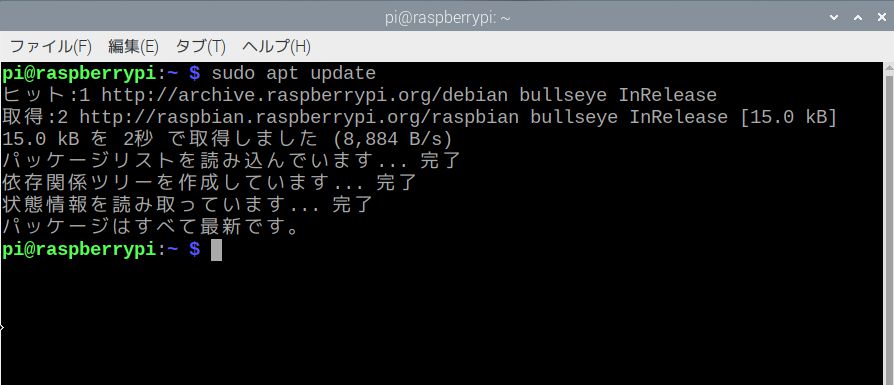
sudo apt update ※パッケージリストの更新
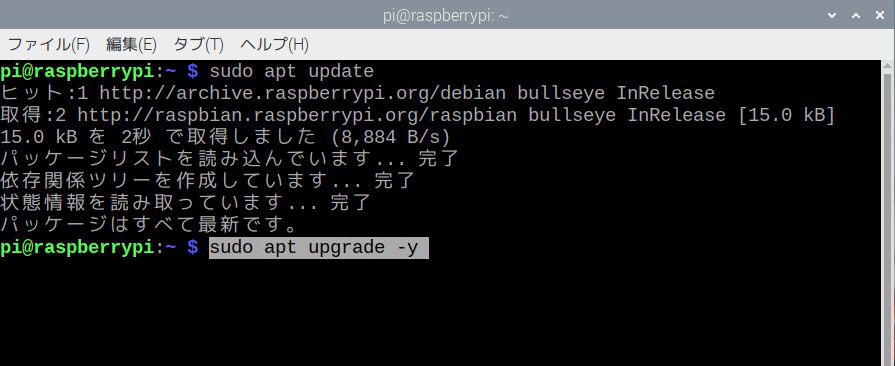
sudo apt upgrade -y ※インスト済のソフトを最新に更新
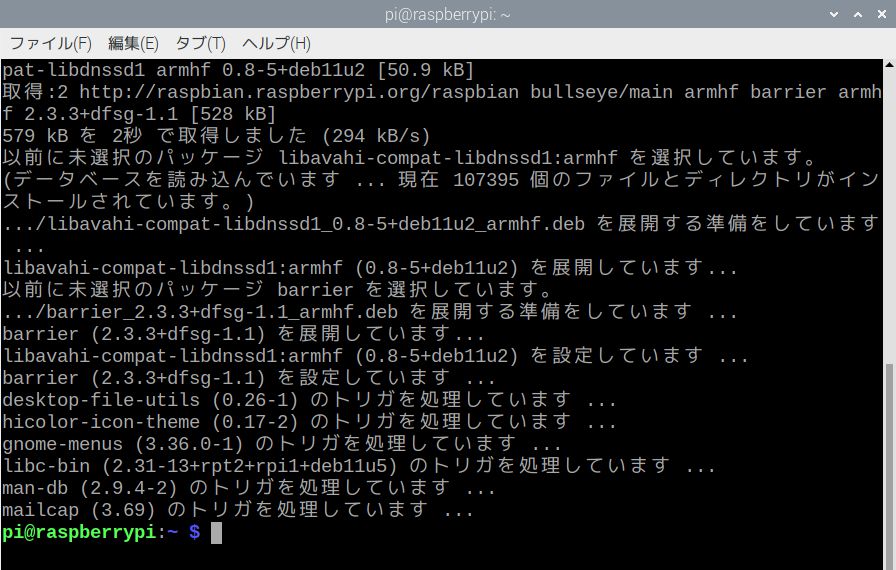
sudo apt install barrier -y ※barrierをインストール
sudo apt update
sudo apt upgrade -y
sudo apt install barrier -y1行目、貼り付けて Enter
 ねこっぴ
ねこっぴ2行目、貼り付けて Enter …. こんな感じに3行目も貼り付けて Enter

 ねこっぴ
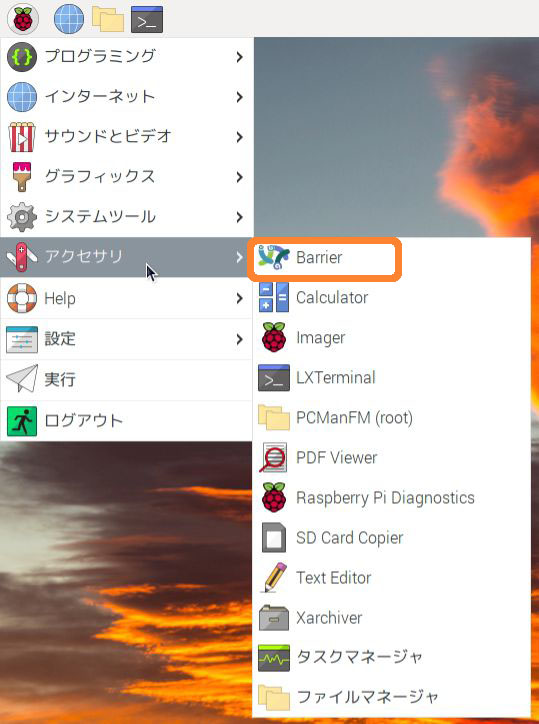
ねこっぴラズパイにインストール完了だにゃ!ターミナル閉じてOK。スタートメニューのアクセサリから起動します! 続いてセッティングにゃ。
Barrierのラズパイ版をクライアントとしてセットアップする
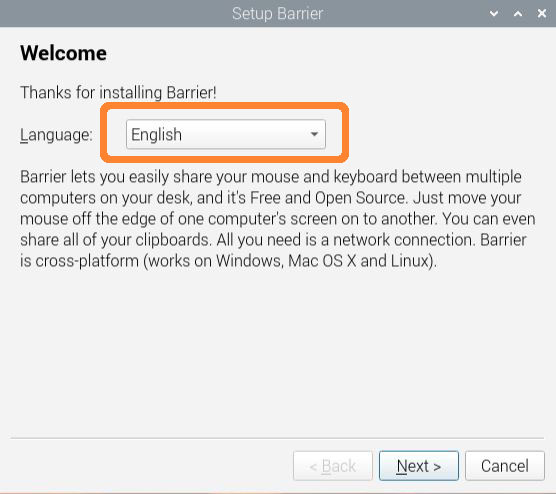
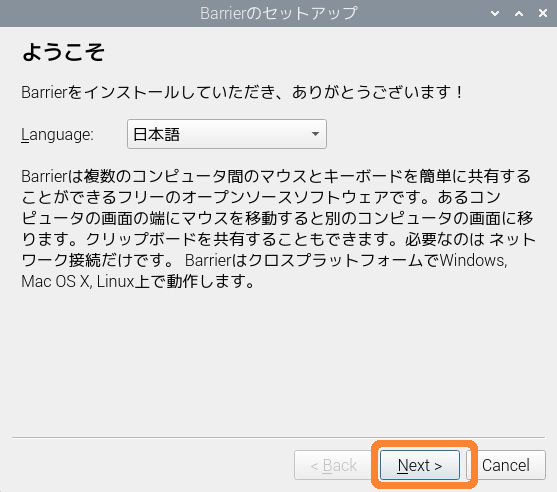
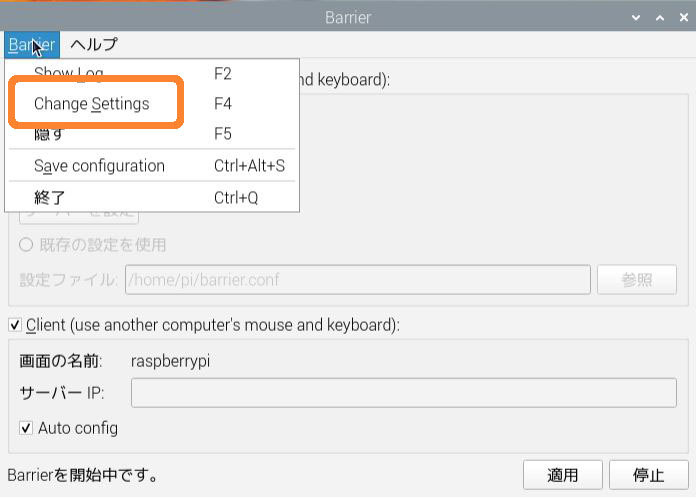
ねこっぴラズパイにインストール完了!ターミナルは閉じてOKにゃ。スタートメニューのアクセサリから起動してセッティングしていきます。
 ねこっぴ
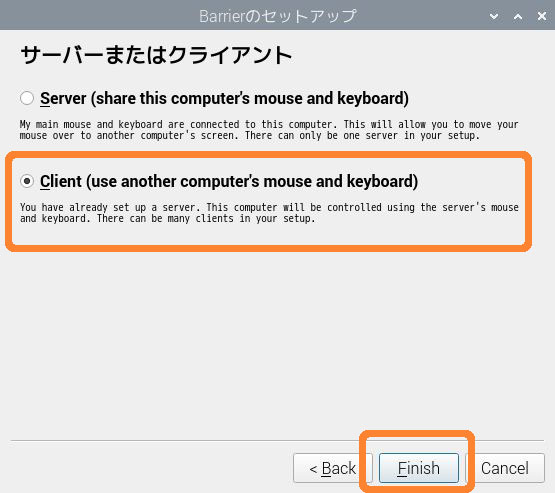
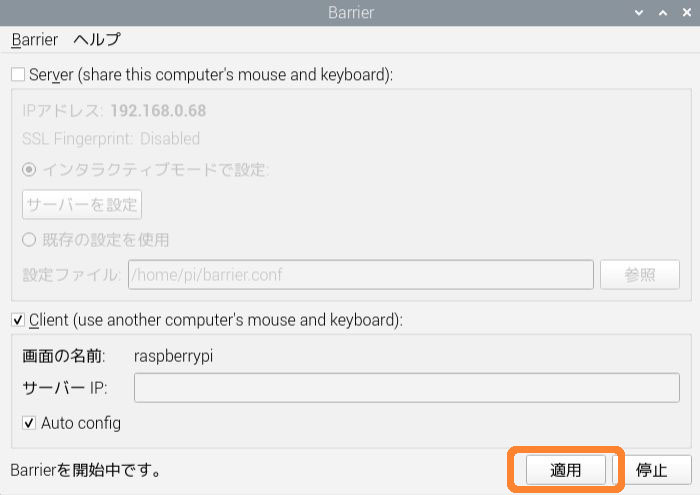
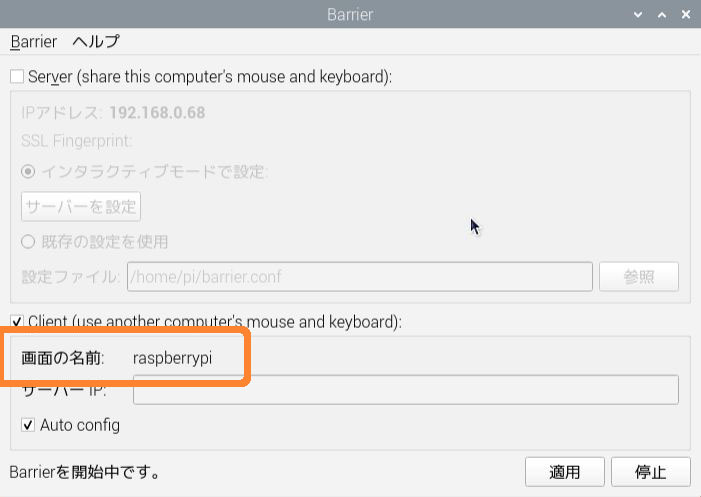
ねこっぴラズパイ側をクライアントとして設定します。windowsをサーバーにする予定で進行にゃ。
 ねこっぴ
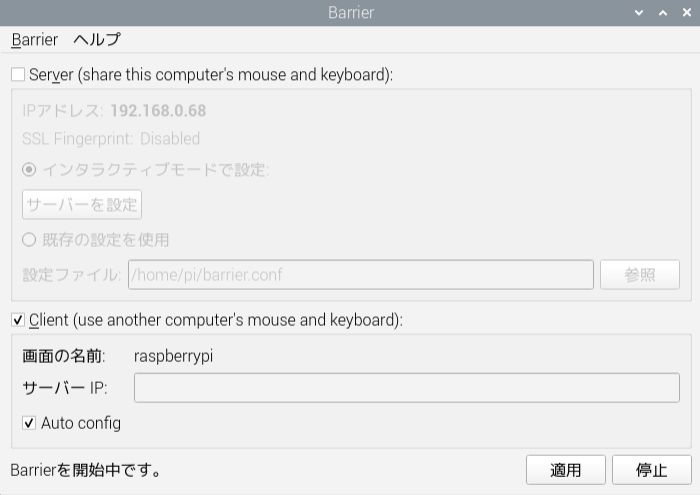
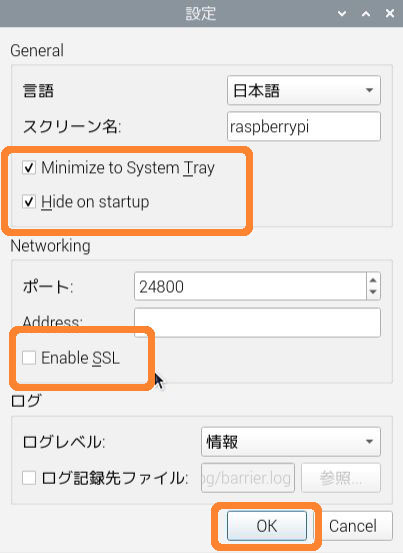
ねこっぴEnable SSL を ONにすると繋がらなかったので OFFにするにゃ。上の2つはチェックしたほうがスマートかにゃ。
 ぴぽこ
ぴぽこラズパイ側の設定OKですね!
ねこっぴつぎはBarrierを自動起動させるセッティングするにゃ。常駐させとけばいつでも使えて便利!
Barrierを自動起動させる。
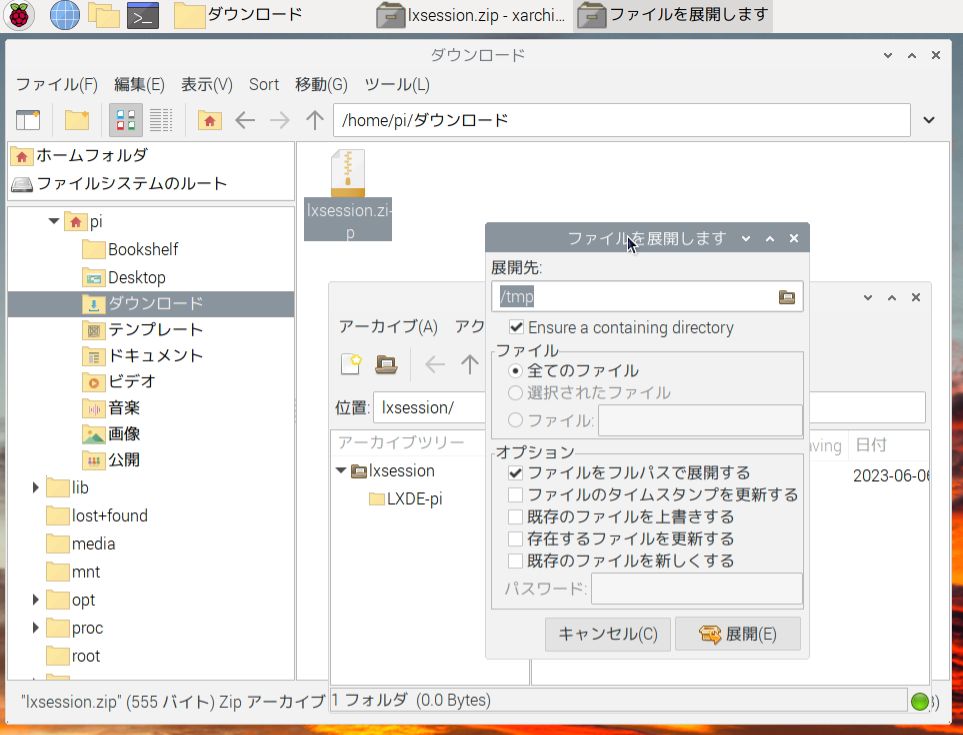
ねこっぴラズパイのブラウザから ファイイルを落として解凍してね!
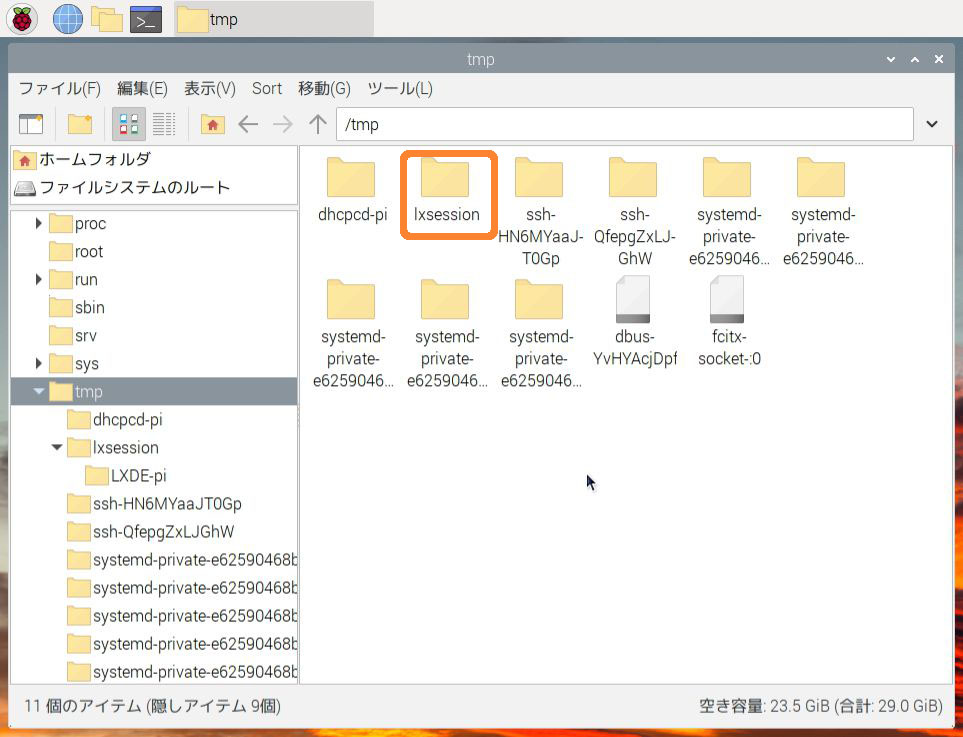
lxsession.zip をダウンロードしてダブルクリックしてファイルを展開

 ねこっぴ
ねこっぴ解凍されたフォルダを確認しつつ、もういっこ普通のファイルマネージャーを起動します。
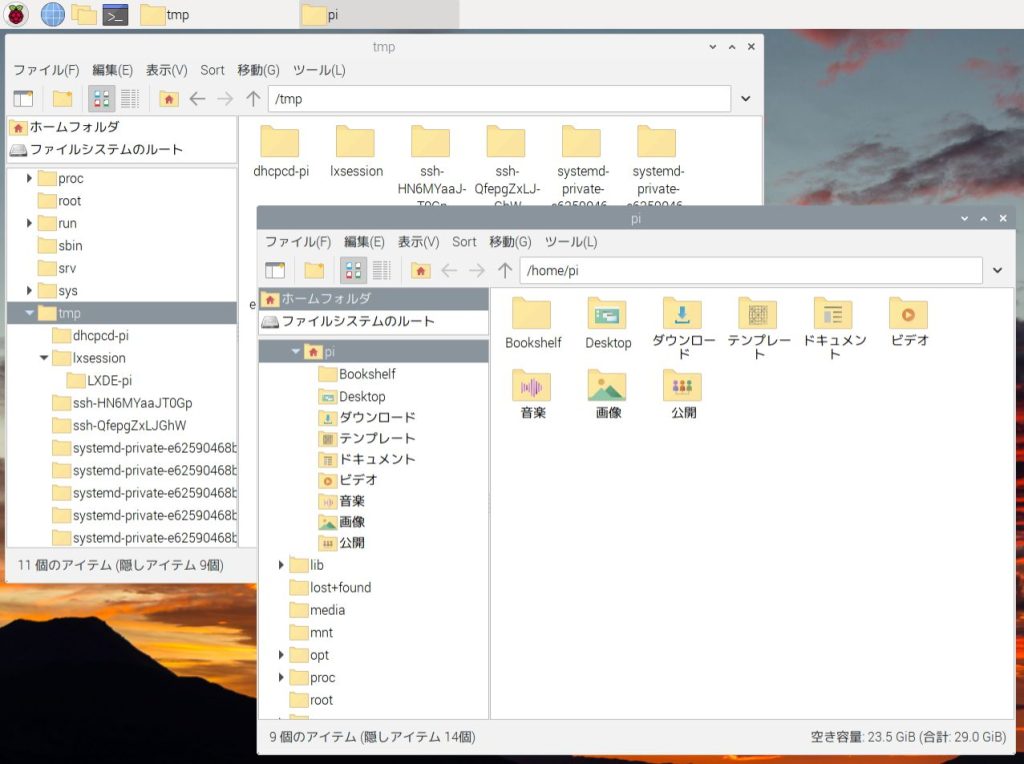 ねこっぴ
ねこっぴ先程の解凍されたフォルダをまるごと隠されているフォルダに移動するので「隠しファイルを表示する」を選択
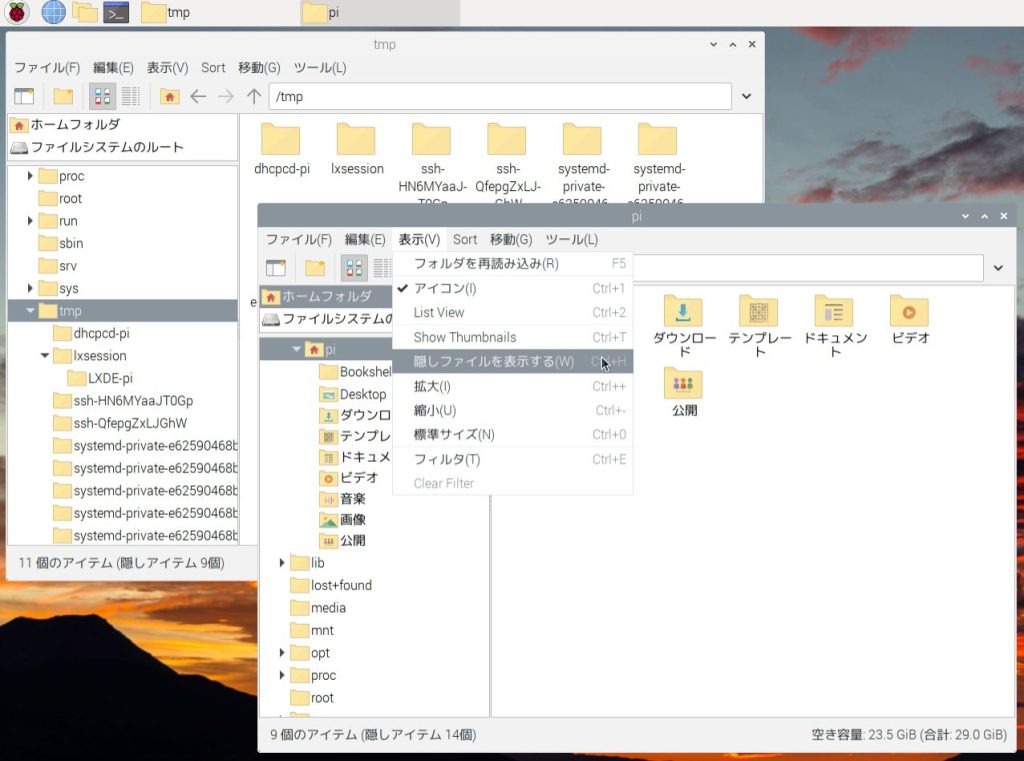 ねこっぴ
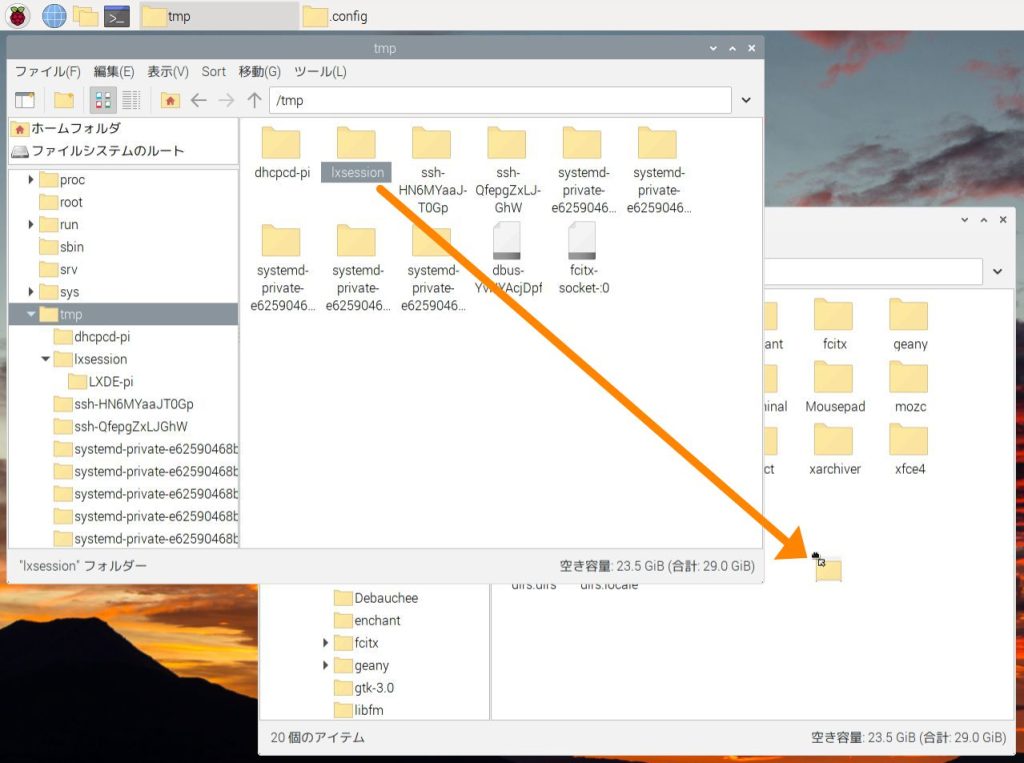
ねこっぴ隠しフォルダと隠しファイルのファイル名は ファイルの先頭に「 . 」 がついてます。隠しフォルダの「.config」を開き、「lxsession」フォルダをマウスで移動します!
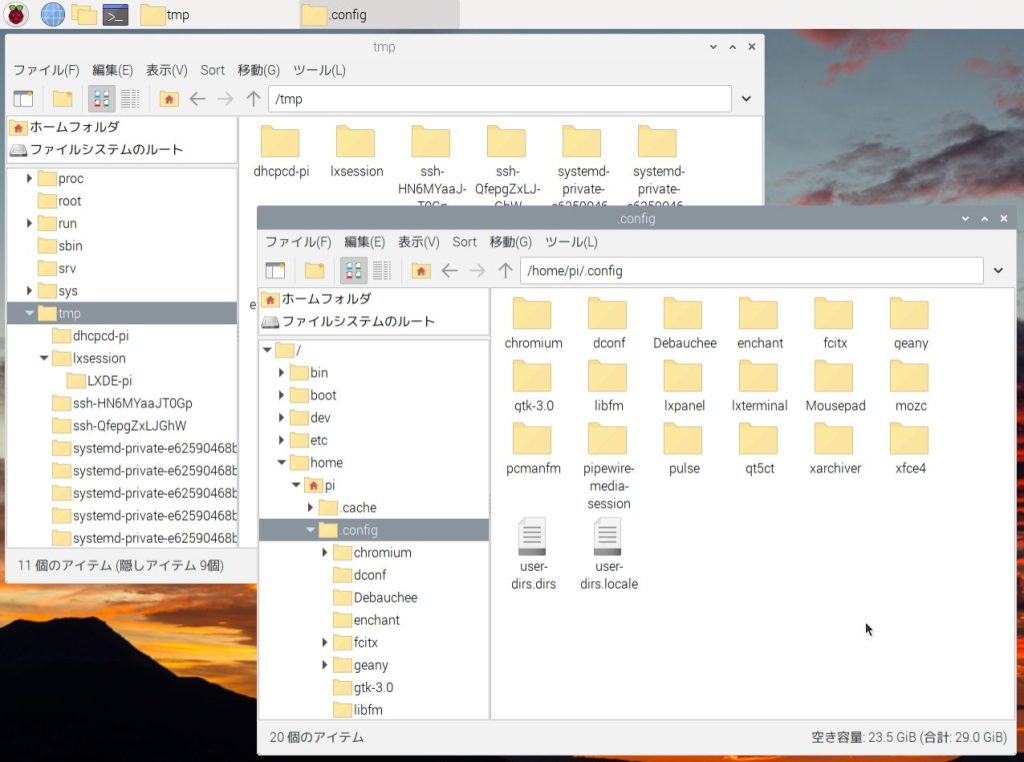
 ぴぽこ
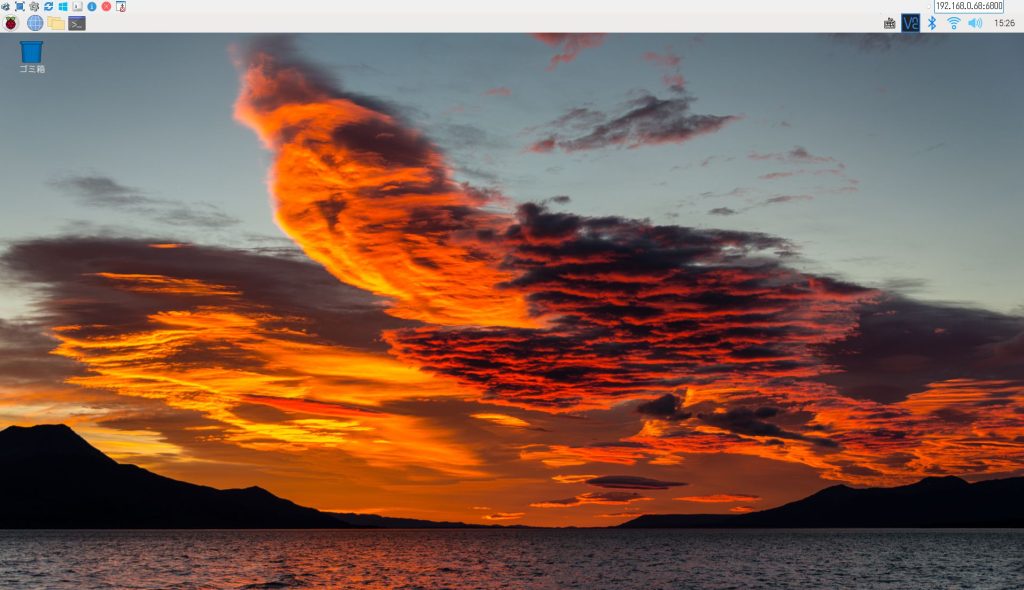
ぴぽこファイルマネージャーの隠しファイル表示設定をもとに戻しときましょ。ここで再起動すれば無事 Barrierが自動起動されます!!
ラズパイのプログラムの自動起動はどうやるの?(確認してみる)
ぴぽこそういえばラズパイの自動起動はいろんな種類があるって書いてあったよ。今回やった以外の他の方法もあるのかしら?
ねこっぴ番長がいろいろ試した結果、今回の方法がいちばんラクだったって。systemd っていって 起動するサービスを作って…とかも一応自動起動できたらしいけど、かなりめんどかったって言ってました。
Qiita @karaage0703さんの
Raspberry Piでプログラムを自動起動する5種類の方法を比較・解説を参考にさせていただきました。
ぴぽこBariier 普通に自動起動されてるし、今回の方法はどうなってるか知りたいです!
ねこっぴラズパイでこれからあそぶにあたって、自作Pythonファイルを自動起動したいことだってあるもんね。自動起動するファイルに簡単にいけるようにまずブックマークしちゃおうにゃ。
ねこっぴファイルマネージャーを開き、表示→隠しファイルを表示するにして、
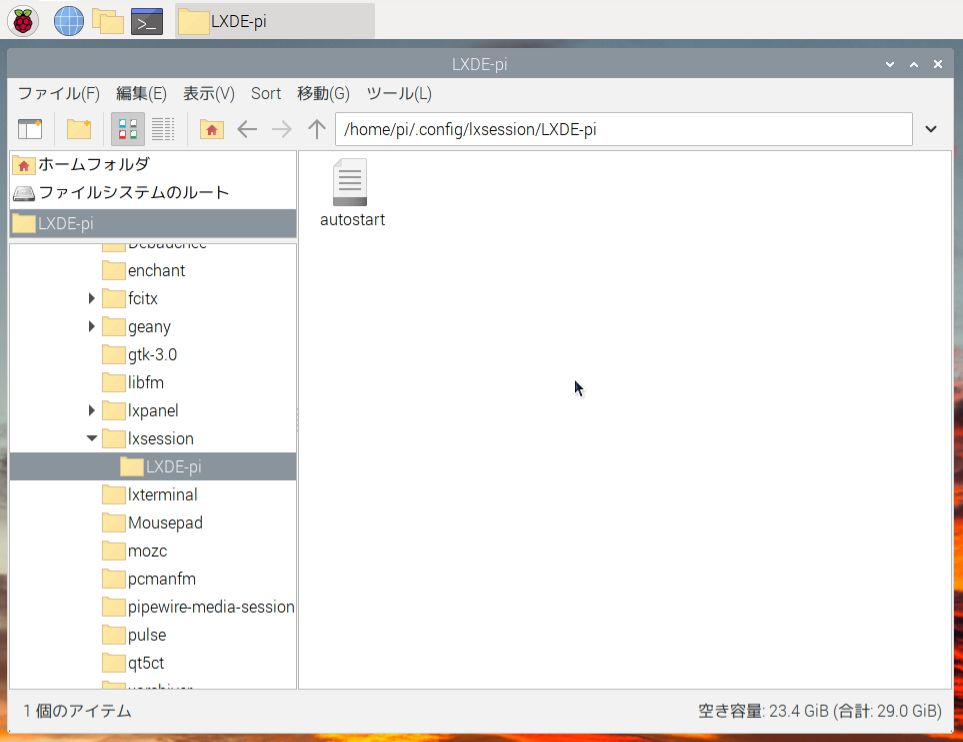
/home/pi/.config/lxsession/LXDE-pi をブックマークに追加。
 ねこっぴ
ねこっぴ隠しファイルを表示するをOFFにしても次から簡単に来れるにゃ。もし写真のように表示されてなかったら、ファイルマネージャーを再起動すると出てくると思うにゃよ。
 ねこっぴ
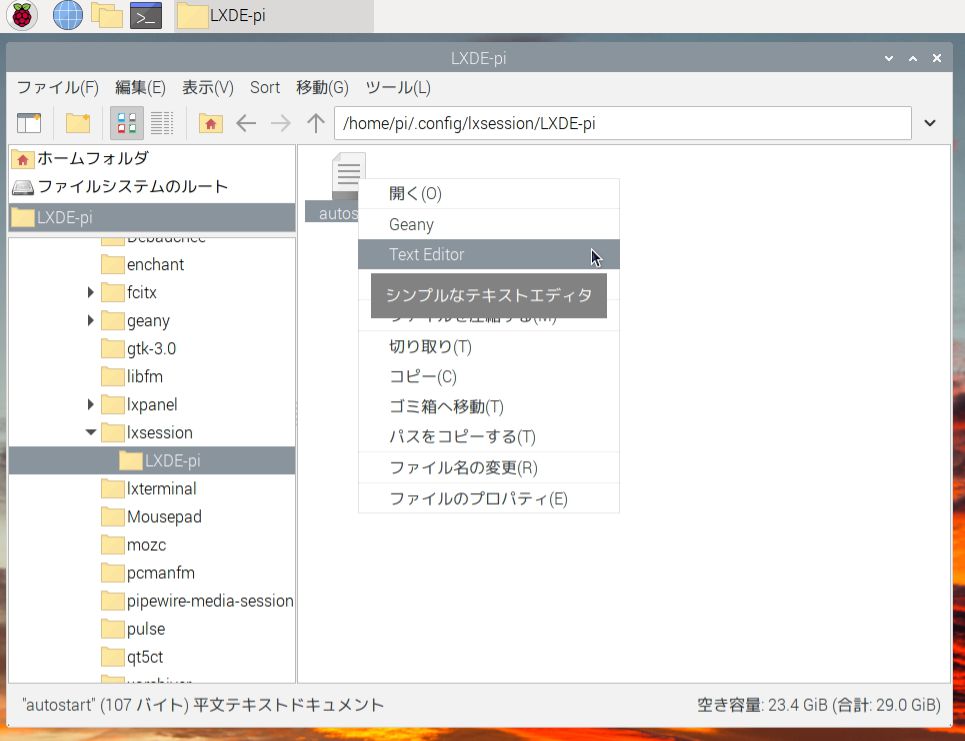
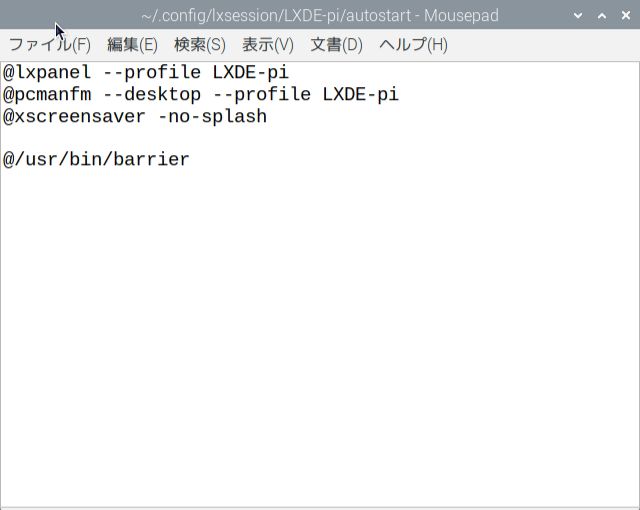
ねこっぴファイルを開きます。シンプルなテキストエディタを使うにゃ。見やすいし。
 ねこっぴ
ねこっぴautostartの中身にゃ。/etc/xdg/lxsession/LXDE-pi に同じ autostartファイルがあって、それをコピーして使うとのことみたい。
 ぴぽこ
ぴぽこあ。今回のBarrierだ。barrier って書いてある部分は番長が足したのね。
ねこっぴそうそう。元からのは上の3行。先頭の@ってなんにゃろ? と調べたら、https://wiki.archlinux.jp/ に、@の後のコマンドはクラッシュした際に自動的に再度実行されます。とあったにゃ。ということでbarrierにもつけときました。
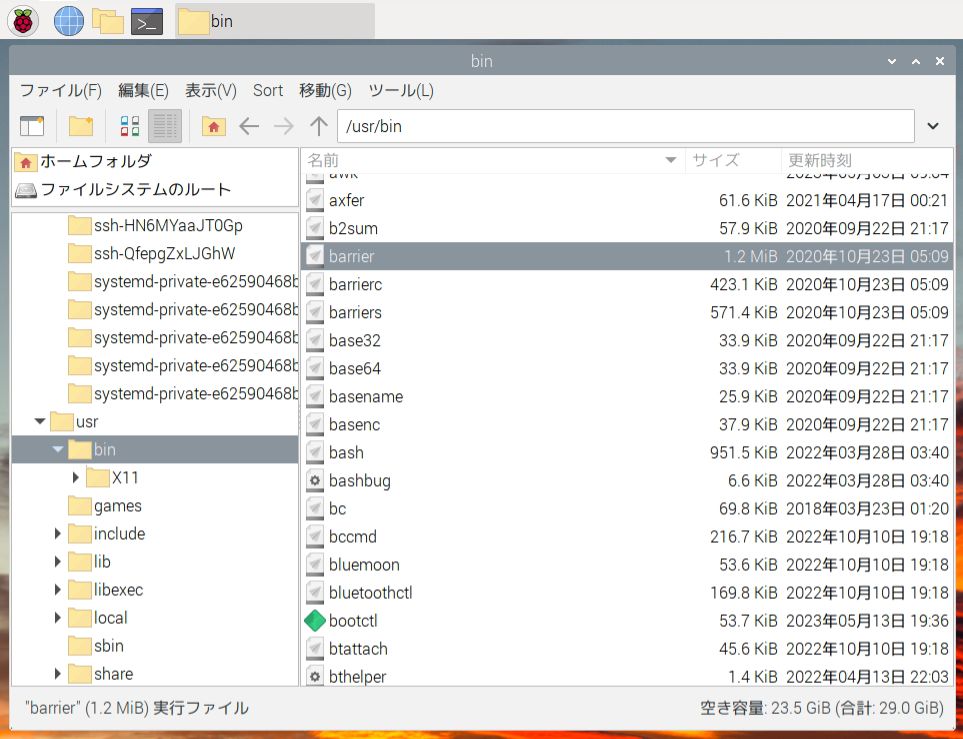
ぴぽこ/user/bin/barrier っていうのはどういう意味なの?
ねこっぴLinuxのシステムはいまだちんぷんかんぷんだけど、barrierを実行できるファイルはどれだー って探してたら /user/bin/ に発見。ダブルクリックしたら実行できたので /user/bin/ にある barrier起動 ってことで /user/bin/barrierにしたらうごきました。
 ぴぽこ
ぴぽこなるほど。なんとなくわかってきた! じゃ、自作Pythonのファイル gogo.py が、/home/pi/ にあって、自動起動したいときは….
ねこっぴautostart に、/home/pi/gogo.py 追加記入で動くにゃ! @は好きでよさげにゃ。
ぴぽこおっけー!
ねこっぴあと、.sh っていうスクリプトファイル。簡単なプログラムファイルにゃね。 これを自動起動に追加して、ラズパイにスイッチをつけて ONのときはこのプログラム、OFFのときはこのプログラムっていうのも可能にゃ!
ぴぽこ夢ひろがるねー!ちなみに最初の3行はなんなのかな。
ねこっぴ/etc/xdg/lxsession/LXDE-pi に同じ autostartファイルがある、って話から、たぶん…たぶんです。今回作った /home/pi/.config/lxsession/LXDE-pi/autostart 。 こっちに作るとこっちのファイルから起動、起動時に必要な大切な命令の3つなんじゃないかな。panel, pcmanfm, screen というワードから画面に関するもののような…..。 よし、3行消して再起動してみよう。
自動起動に失敗!! どうしよう(リカバリ方法)
ねこっぴ
 ぴぽこ
ぴぽこああああ 予想通りの展開! 適当にクリッククリック!! 華麗に右クリック!
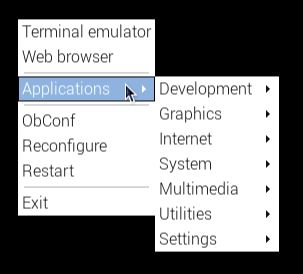 ねこっぴ
ねこっぴなんか出たにゃ。なんとかなりそうにゃ。Terminal emulator を起動して….
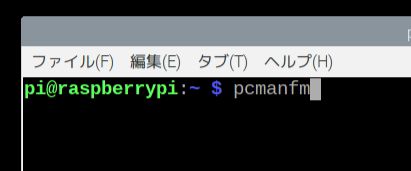 ねこっぴ
ねこっぴファイルマネージャー起動して、さっきDLした lxsession.zip を再解凍して /home/pi/.config/lxsession/LXDE-pi/ の中の autostrat を移動して上書き。そしてTerminal emulator から再起動!
 ぴぽこ
ぴぽこあぶないあぶない。復帰です! 最初の3行は消しちゃだめ。です。
windowsにBarrierをインストールする
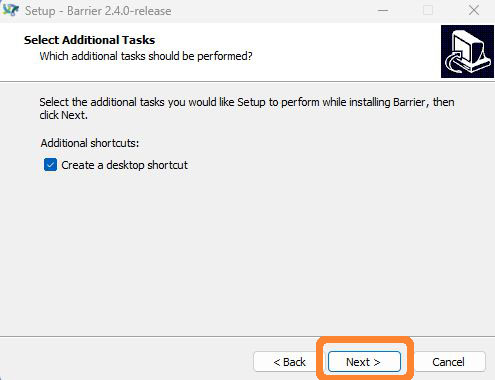
ねこっぴかなりそれましたがwindowsにBarrierをインストールするにゃよ!
windows版 Github Barrier のダウンロード 2023/06/06現在 BarrierSetup-2.4.0-release.exe をDL
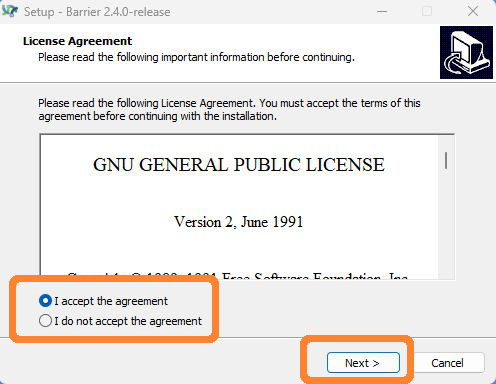
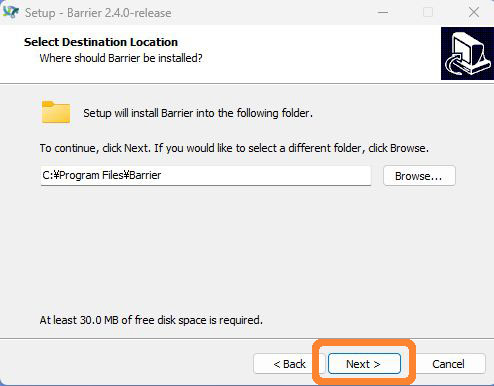
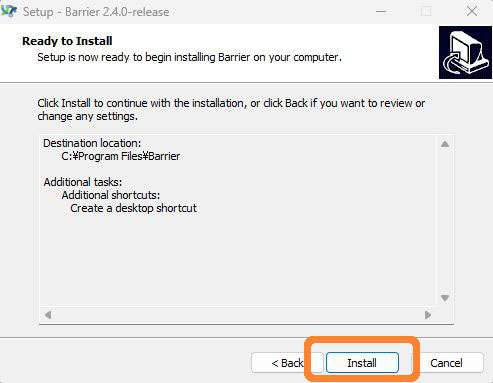
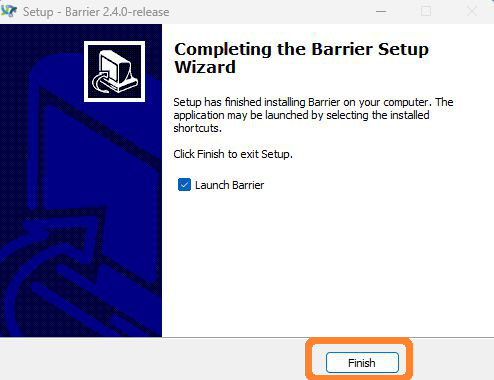
ぴぽこダウンロードしたファイルをダブルクリックして起動しましたよー
windowsのBarrierを設定してラズパイと接続する
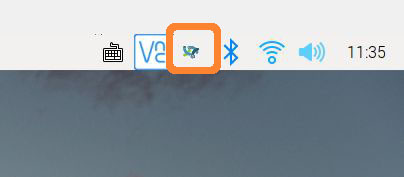
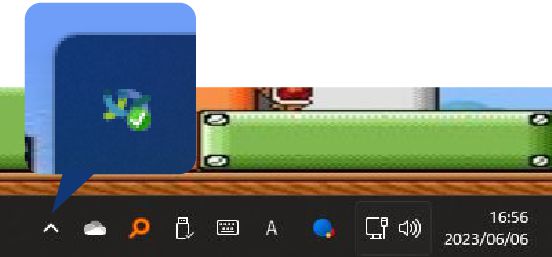
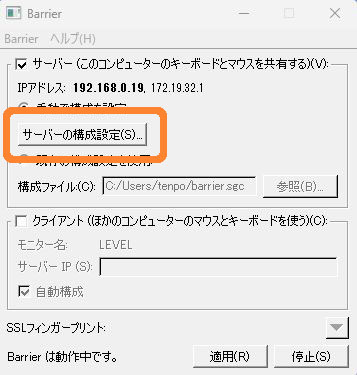
ねこっぴwindowsタスクバーのここクリックしてこのBarrierのアイコンをダブルクリックするとBarrierのウインドウが出るにゃ。
 ねこっぴ
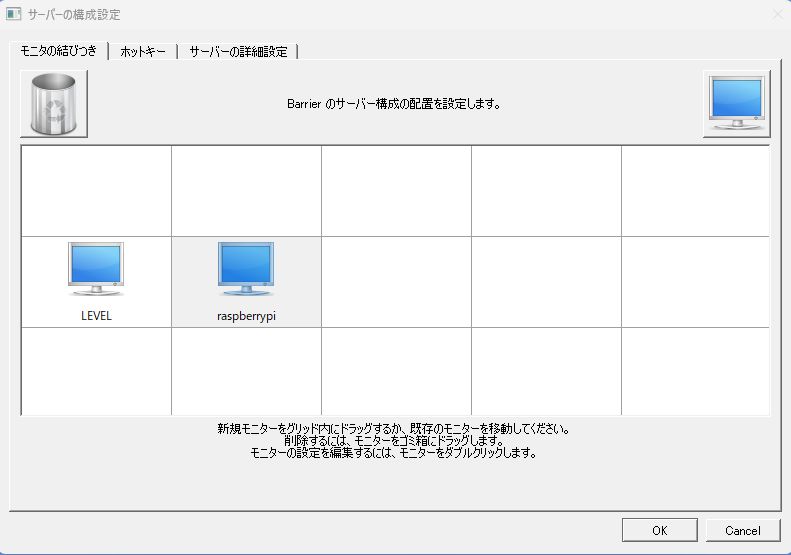
ねこっぴ出てきたwindows内のサーバーの構成設定をクリック!
 ねこっぴ
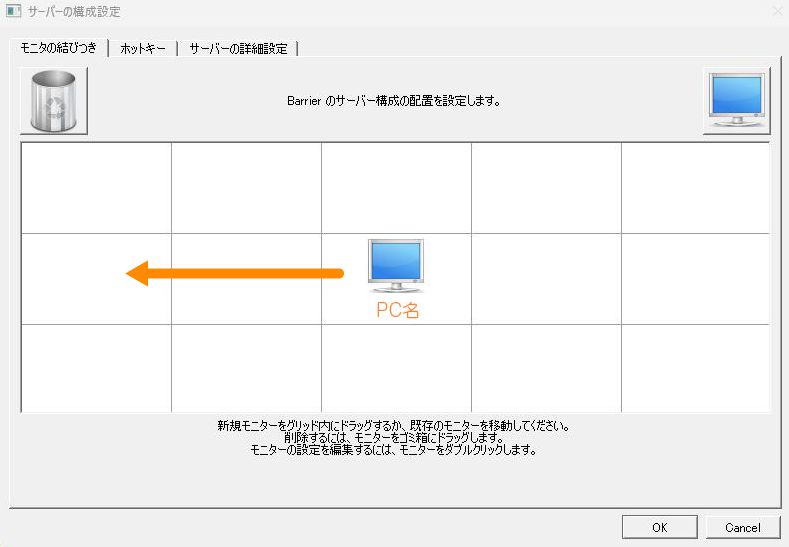
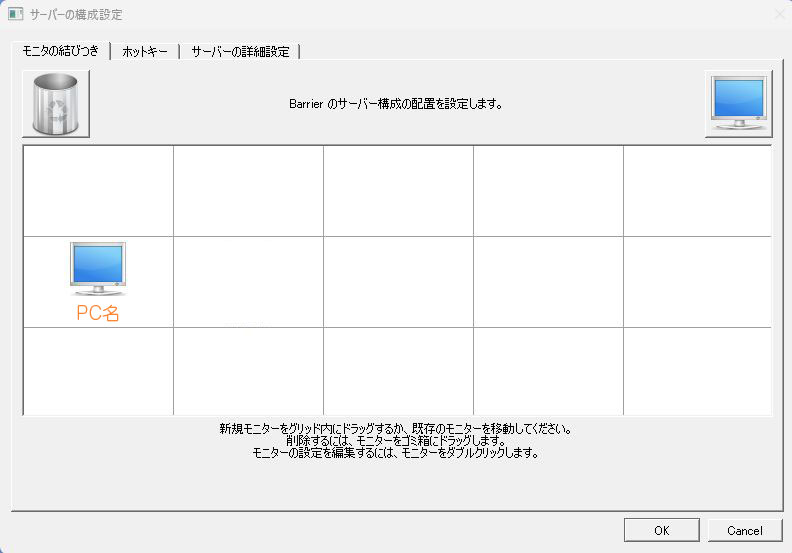
ねこっぴマス内どこでも移動可能ぽい。気分で一番左に移動してみます。
 ねこっぴ
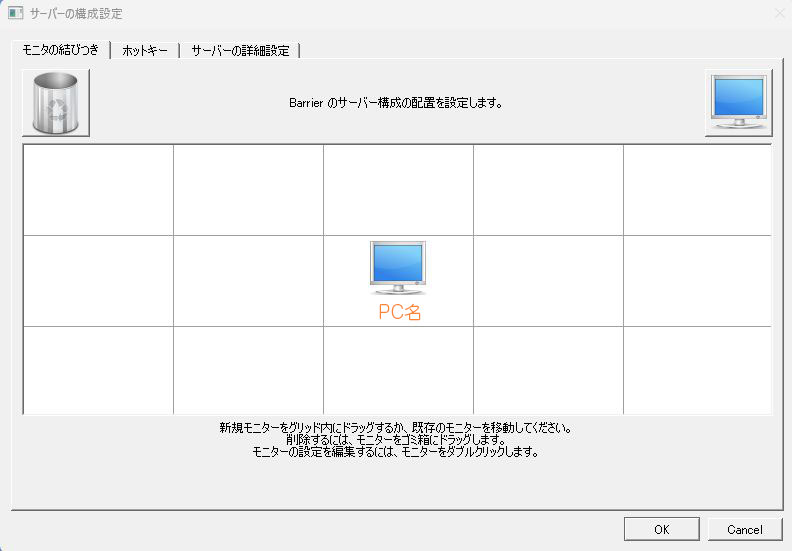
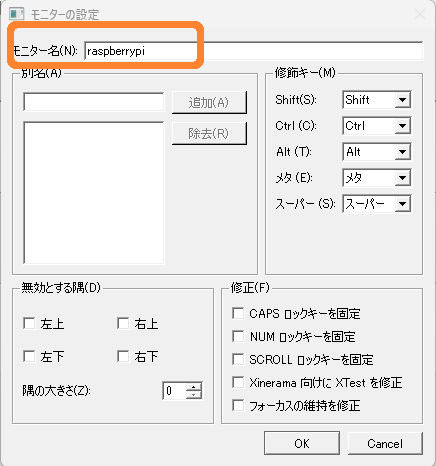
ねこっぴ右上のモニターからマウスで好きなとこに引っぱって設置。このモニターをラズパイモニターとして設定するにゃ。「名前なしモニター」をダブルクリックすると名前の変更ができるにゃ。ここに、ラズパイ側Barrierに表示されているモニターを記入。

 ぴぽこ
ぴぽこラズパイ側のBarrierの画面の名前を念のため確認しますっ! 「raspberrypi」OKです!
 ぴぽこ
ぴぽこ「OK」 で閉じます。さくっと繋がりました!!
ねこっぴ次はwindowsとのファイル共有ができるsambaの設定にゃね!