
ジョイスティックがほしいなり。
X68000Zで使えるジョイスティック
 ねこっぴ
ねこっぴいきなり気まぐれでゲームしたくなったにゃ!
 ぴぽこ
ぴぽこいつも突然思い立ってなにかやりはじめるねえ。
ねこっぴ今X68000Zで遊べるゲームはシューティングとかアクション多いから
「基本操作などのまとめ」で紹介したジョイパッドじゃきついにゃ。
ぴぽこ持っているファイティングスティックmini for Nintendo Switch
を試したけど動かなかったって言ってたね。
ねこっぴ調べたらジョイパッドやジョイスティックには2タイプの形式があるみたい。
窓の杜 PCゲームでコントローラーが使えない? それ、DirectInputでは? より
Windows PCでは様々なコントローラーを認識できる。これらのコントローラーの多くは「DirectInput」という規格で接続される。
そこに新たな規格として現れたのが「Xinput」。Xbox 360のコントローラーをベースとした規格で、最新のXbox Series X|Sでも使われている。
ねこっぴ今回欲しいジョイスティックは、X68000Zで使える旧規格のDirectInput。でいて、連射機能がついているもの。にゃ。
でも一番大事なのはコンパクトなもの。机せまいしにゃ。
ぴぽこ持っているファイティングスティックmini for Nintendo Switch は使えなかった。 DirectInput仕様との話のイーグレットツーミニについてきたジョイスティックは連射が無い。買うしかないのね….。どっちも小さくていいのにねー。
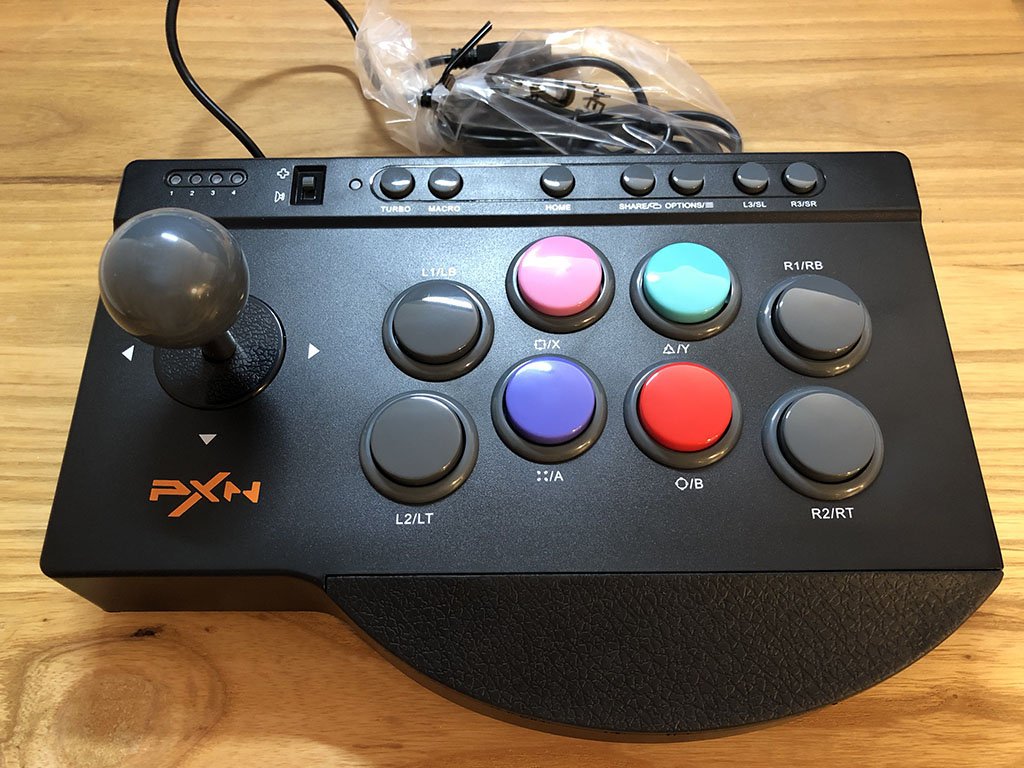
ねこっぴと、いうことで今回購入したのがこれにゃ。
 ぴぽこ
ぴぽこファイティングスティックミニより少し大きい感じだね。
ねこっぴ表面のプラの質感がいまいちかにゃあ。円弧部分はゴムみたいな感じ。これも経験上 加水分解?っていうのかにゃ。 ベタベタしてきそうで怖いにゃ。でもサイズ感は一瞬大きいかな?って思ったけど、しっくりくるサイズだったにゃ。
ぴぽこスティックとかボタンの感じは?
ねこっぴなんかスティックのボールが大きいなってすぐ感じたにゃ。でも思いのほか持ちやすいし、レバーの動きもボタンも違和感ないにゃね。
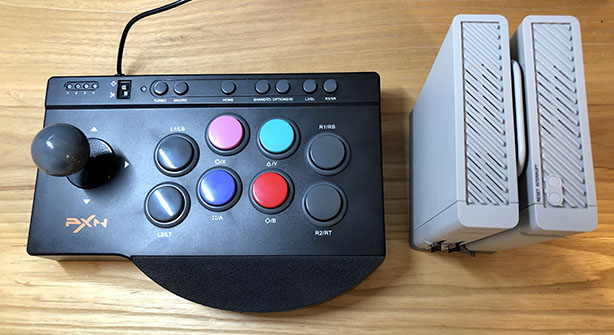
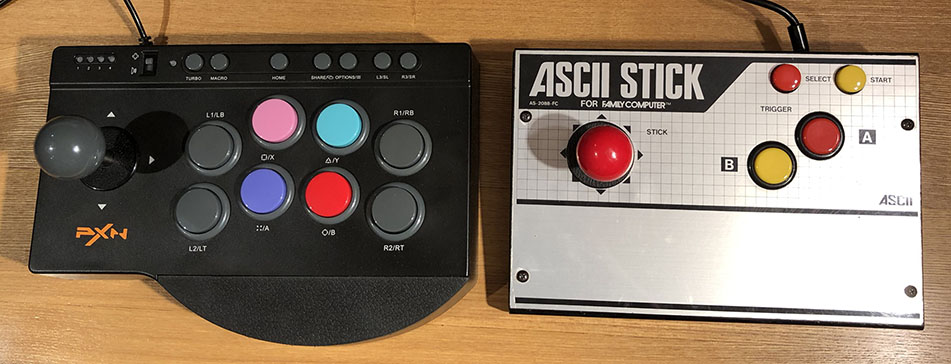
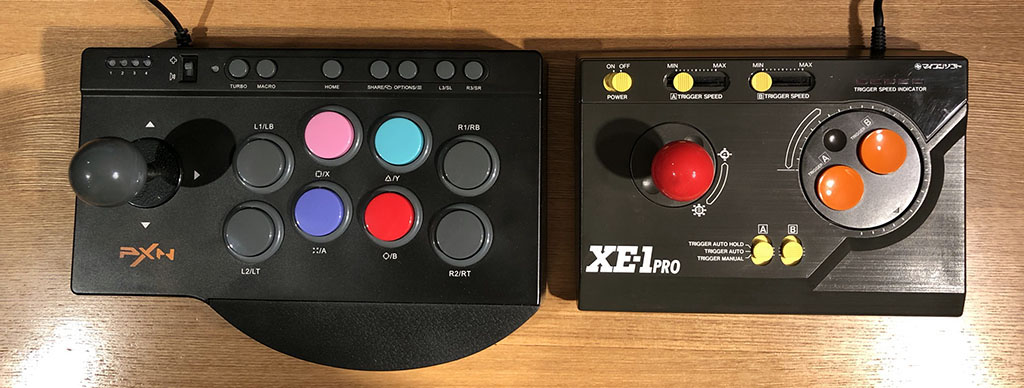
他のジョイスティックと比較にゃ。
 ねこっぴ
ねこっぴ並べるとやっぱりスティックのボールが大きいにゃね。
それよりもです。ちょこっとグラディウスやった限り…..。
 ぴぽこ
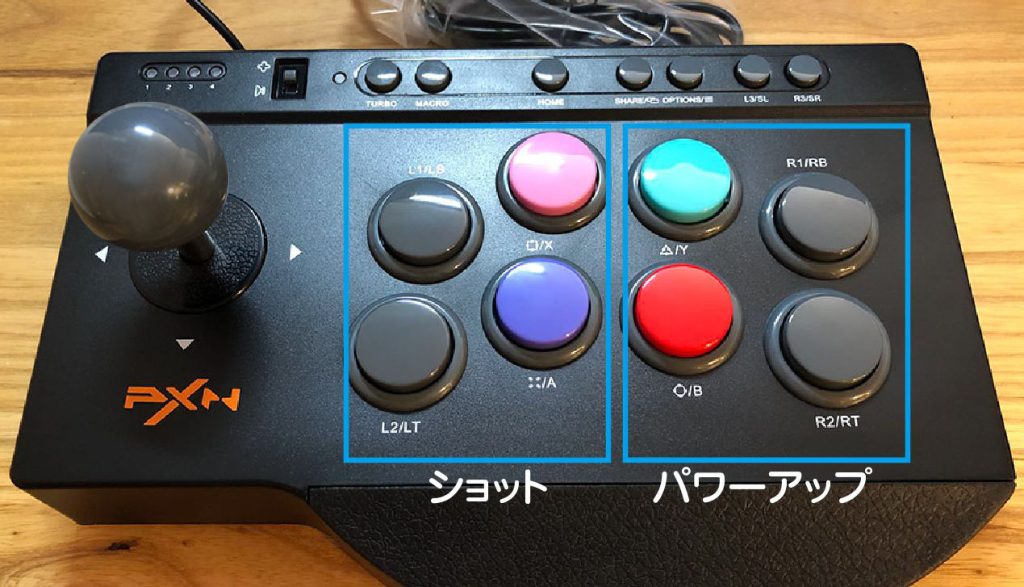
ぴぽこボタンいっぱいあるわりには微妙な配置ね。
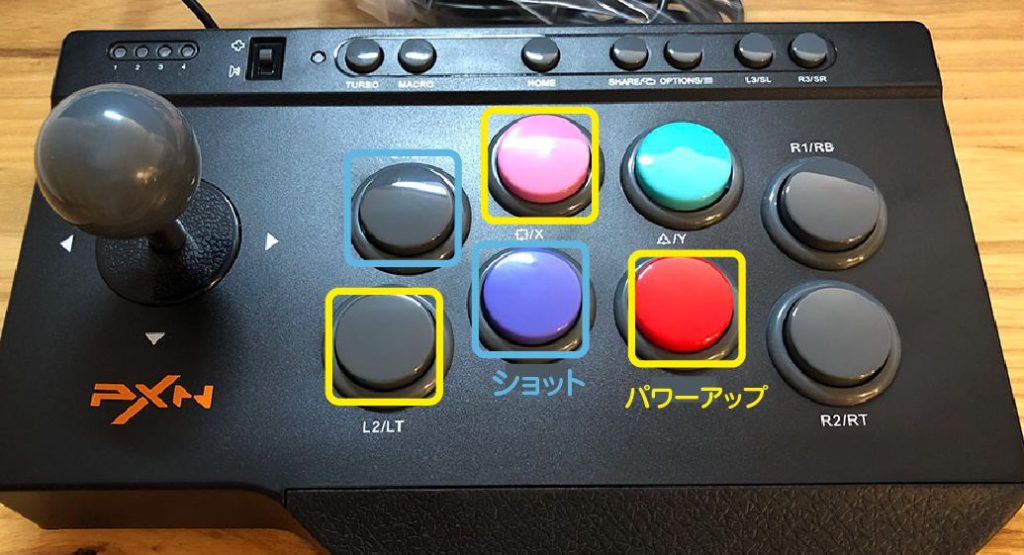
ねこっぴ2ボタンしか使わないんだし、せめてこうしたいにゃ。
表面に印字されたAをメインに使うときは上とか右はパワーアップボタン。印字されたL2をメインに使うときはそのボタン反転。
 ねこっぴ
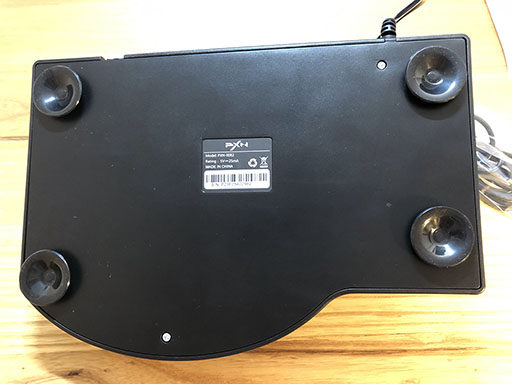
ねこっぴしかも裏側吸盤だし。バラしていくにゃよー。
 ねこっぴ
ねこっぴUSBのコネクターだけ念のためはずして 吸盤はピンが刺さってたので抜いてからひっぱって取りましたにゃ。

 ねこっぴ
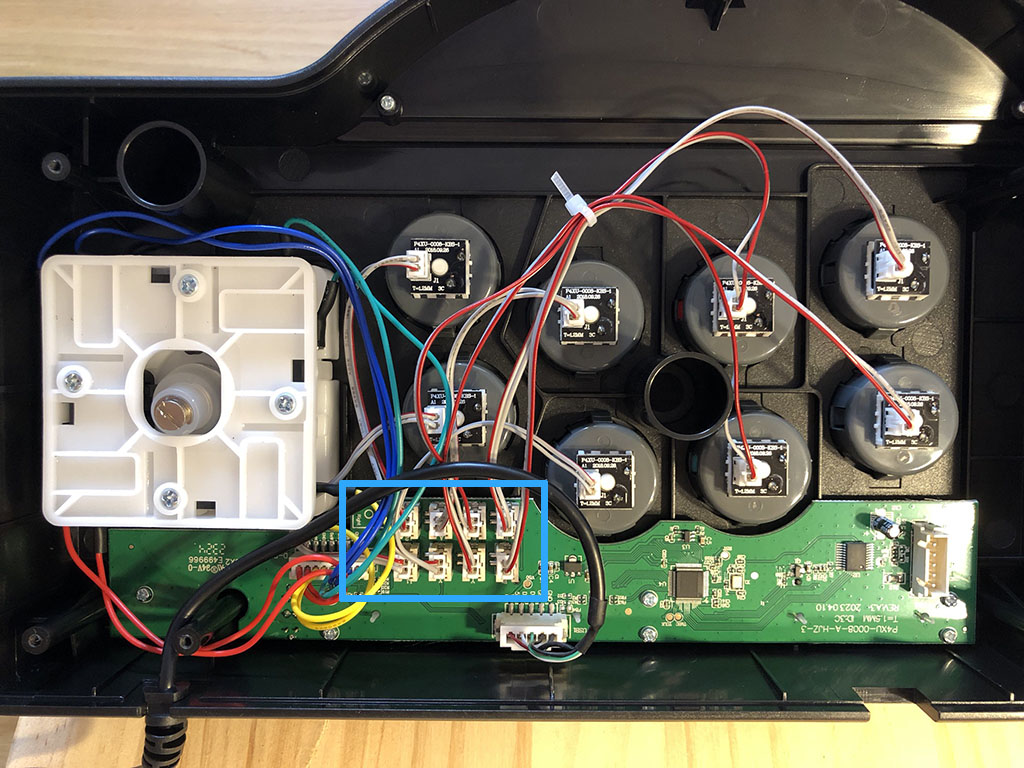
ねこっぴLR以外のボタン替えはすごくカンタン。この青いとこのカプラにしっかりボタン名書いてあるから、変えたい場所を外して入れ替えるだけにゃ。LRは少しクセがあるにゃ。結果的に今回の希望の状態に入れ替えは
XとYを入れ替え。R2とL2を入れ替え。
 ねこっぴ
ねこっぴと、いうことで閉じてフェルトシールでも貼って完成にゃ!
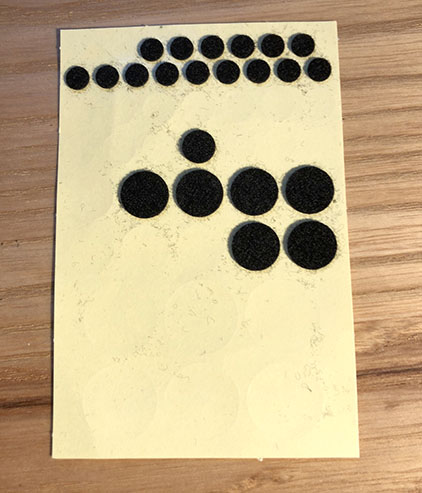

 ぴぽこ
ぴぽこX68000Z専用コントローラーの完成ですー!
- X68000Z UARTでなにができるの?
- X68000Zを動かしてみよう! X-Basic準備
- どのラズパイを選べばいいかな?
- ラズパイUART設定とケーブル接続
- ラズパイとのUART接続確認テスト
- MIDI再生専用FDを作成(mt32pi)
- MIDI再生専用FDを作成(ttymidi)
- mt32-piでラズパイをMIDI音源にする
- MIDIハード音源を試す
- DACとちびモニターを用意する
- X68uartRasModuleの製作 準備編
- X68uartRasModuleの製作 組立編
- アップデートとHDDの設定
- SX-Window HDDにインスト
- SX-Window MIDI演奏設定
- SX-Window MIDIハード音源設定
- プログラミング編 X-Basicになれてみる
- プログラミング編 Pythonに少し慣れてみる
- プログラミング編 UARTでX68kZからラズパイを操作!
- シェルスクリプトSW分岐とLチカ
- ちびモニタとLEDを制御する!
- ttymidiのUSBの関連付け自動
- Python実行形式にするPyInstaller
- Winkipedia/2chSC閲覧 X68k RasNet
- X68000Zの基本操作などのまとめ
- 番外編はTOPから!